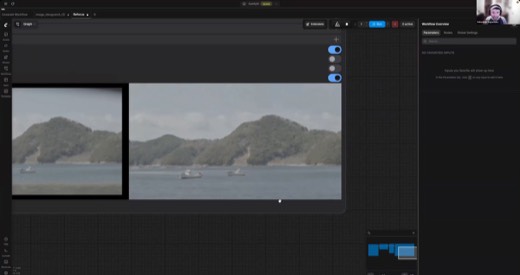
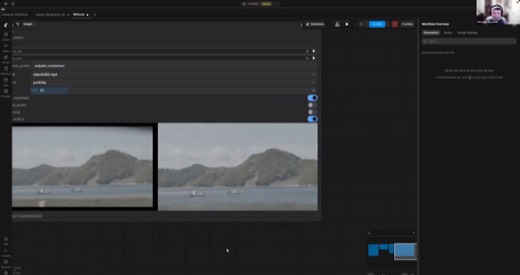
Class 8: Node-Based Workflows in Krea. "Krea is Microsoft Paint. Comfy UI is free Photoshop."

Pratt After Effects & video editing instructor since 2022
The class in brief
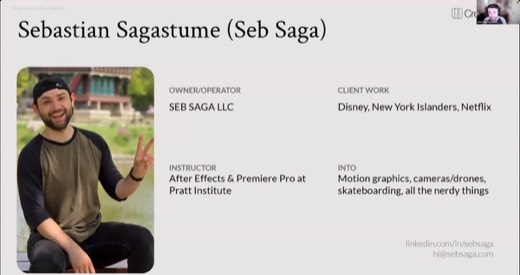
Guest instructor Seb Saga taught node-based AI workflows in Krea: chaining single-purpose blocks into a reusable pipeline instead of re-typing one prompt at a time. Seb is a video producer and animator whose clients include Disney and the New York Islanders.
Six archetypes, a live build from blank canvas to finished video, and a blunt account of where the tool breaks. After this page you can name the right archetype for a job and let an agent build a workflow's bones from one sentence. You can also know when to walk away from Krea for ComfyUI instead.
From prompts to pipelines
Why this matters · 6:04 PM
A node does one job. Chain enough of them and the workflow runs itself.
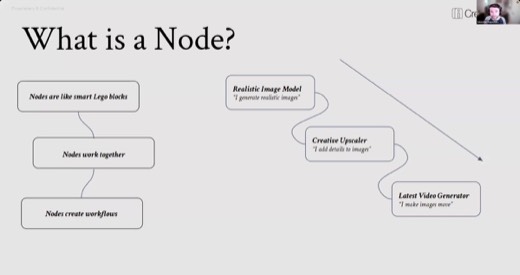
Seb's core thesis, opening the night : nodes are "smart LEGO blocks" that chain into a reusable pipeline, "basically programming, but with visual blocks."
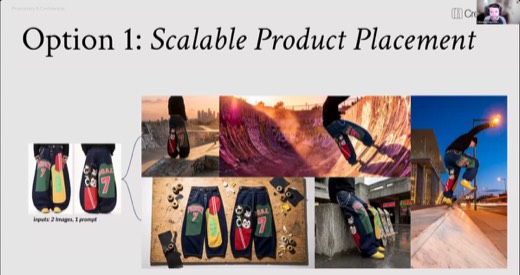
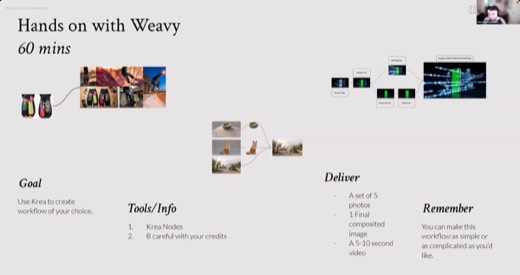
What the room would build that night fell into three shapes: scalable product placement, a video chain, and multi-layer compositing .
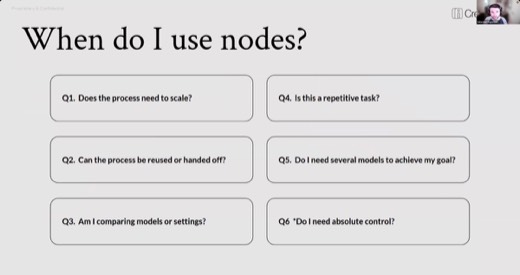
Before reaching for a node canvas at all, Seb gave six diagnostic questions to ask first :
- Does it need to scale?
- Can it be reused or handed off?
- Are you comparing models?
- Is it repetitive?
- Do you need several models orchestrated together?
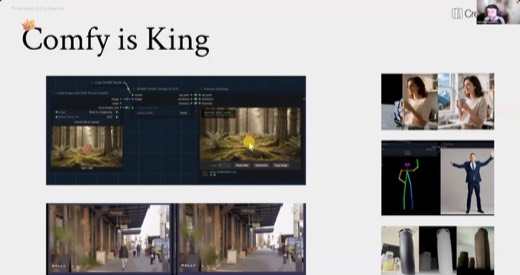
- Do you need absolute control? If the answer to this question is yes, the real answer is ComfyUI, a free, more advanced node tool built for full control, not Krea.
The framework · 6:17 PM
Six ways to build a workflow
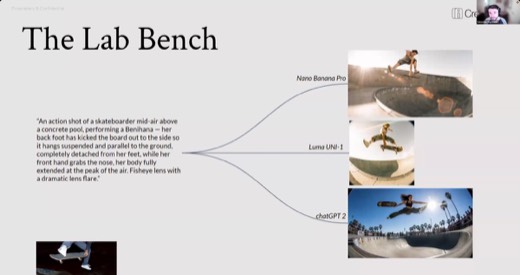
Lab benchcompare models or settings
Same prompt, several models, side by side. Seb's test: a skateboard trick, where one model nailed it and others missed entirely. Also test aspect ratios; models perform differently across them, a training-data artifact.
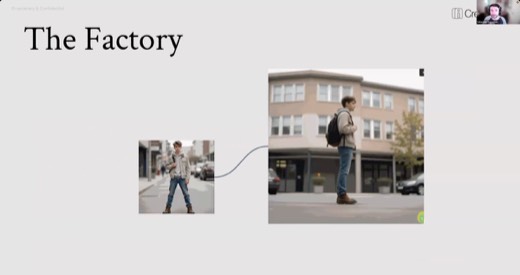
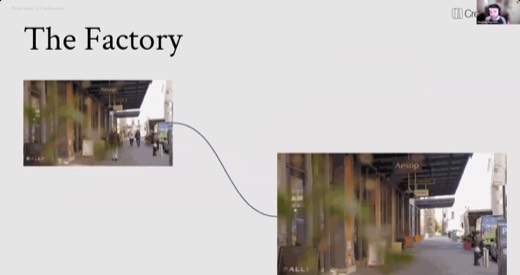
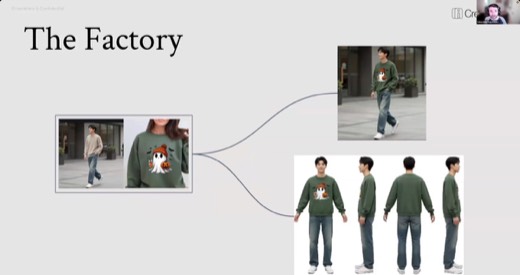
Factoryone input, same process out, run over and over
Multi-angle character generation, turnaround sheets, a product photo becoming a model wearing it plus a 360 view. The same output shape, run over and over.
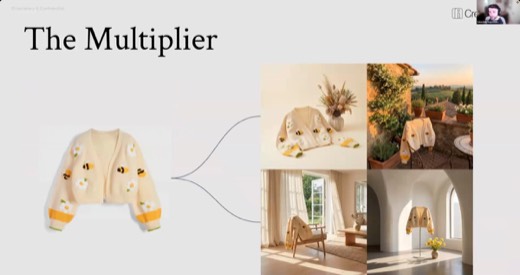
Multiplierone asset, many scenarios
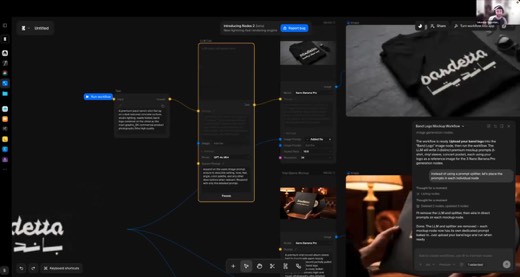
A single product shot placed into several environments at once: the product-placement pattern the night's live build used.
Relayoutput feeds the next model
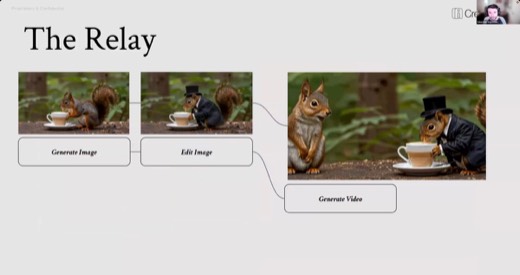
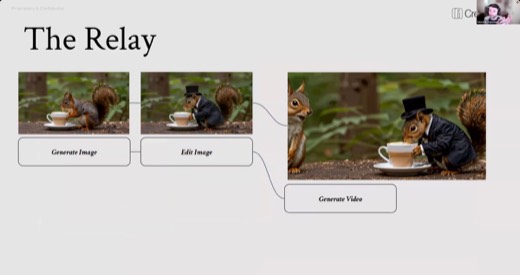
Image into edit into video, one model's output becoming the next model's input, down the line.
Compositorassemble the pieces, then unify
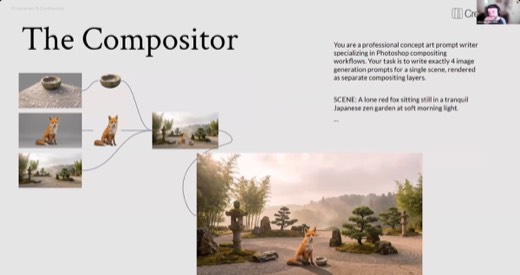
Generate scene layers separately, remove backgrounds, assemble, then run the flat composite through an editing model to match shadows and light.
Control rigstructural prompting
Pose skeletons and depth maps, called ControlNets, work as a third type of prompt, alongside text and images. This is ComfyUI territory, not Krea's. Seb summed up the split with this page's hero line: Krea as Microsoft Paint, ComfyUI as free Photoshop.
The exercise · 6:52 PM
Building the first chain live
Blank canvas to a finished squirrel-in-a-tuxedo video.
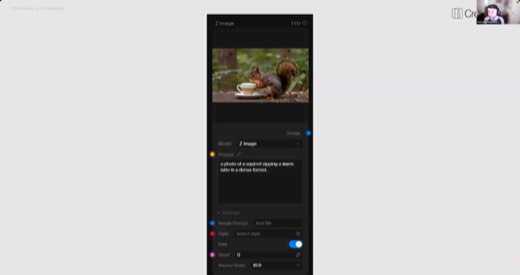
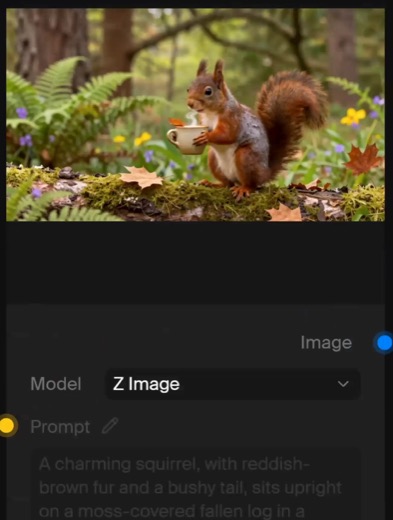
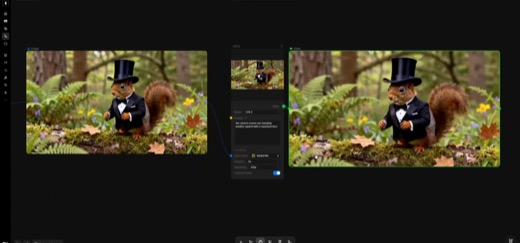
Seb built the first chain from nothing: a Z-Image node with a plain sunset prompt .
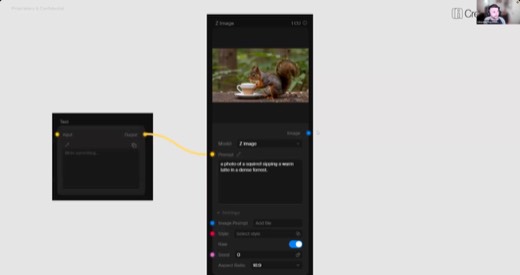
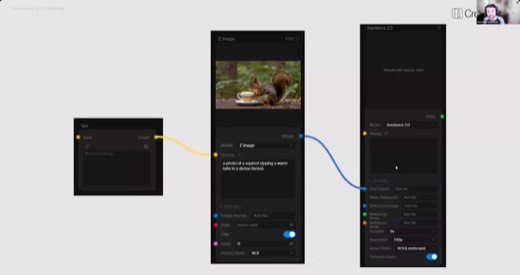
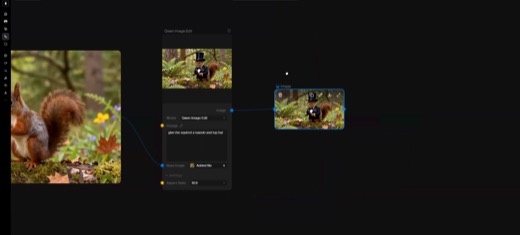
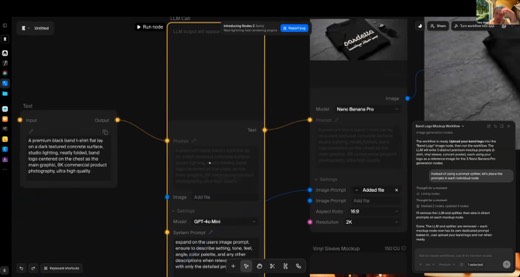
Then a Text node fed an LLM Call node, which fed the image node, three blocks long . From there, a Qwen edit put the squirrel in a tuxedo and top hat, and an LTX-2 node turned the result into a short video.
"The Krea agent builds the bones. You still write the prompts that matter."
The preset that saves the step
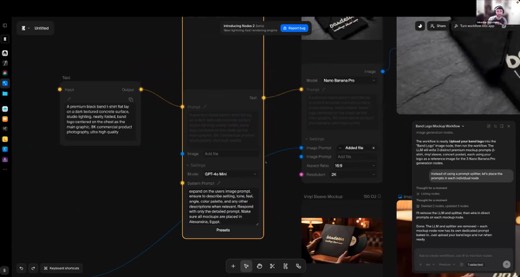
Seb's LLM-node system prompt, saved and reused across every workflow he builds: "Expand on the user's image prompt. Ensure to describe settings, tone, feel, angle, color palette, and any other descriptions when relevant. Respond with only the detailed prompt." One block, written once.
The agent builds the bones
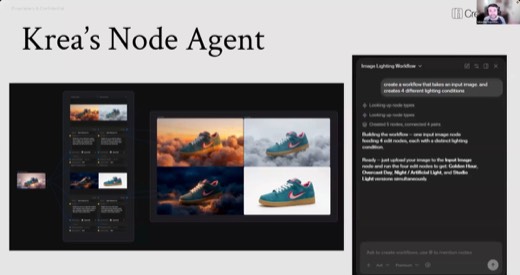
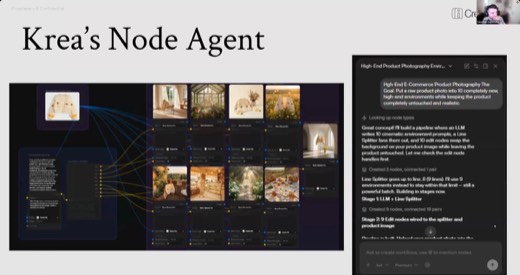
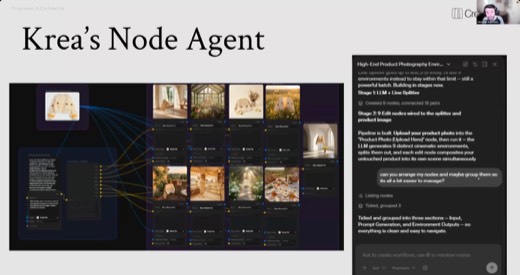
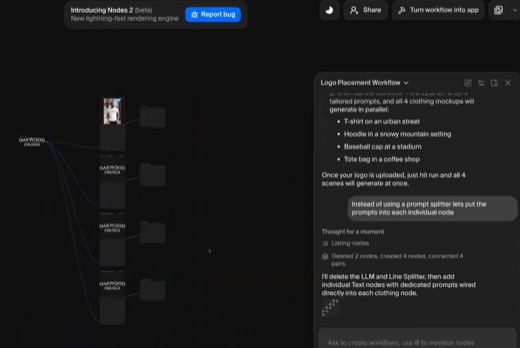
Asked in plain language to place a sweater into four environments, the Krea agent built the prompt-writer, the splitter, and four generation nodes on its own . Scaled up to a cardigan and eight environments, the pattern held .
Cheap first, then swap
The Photoshoot App demo ran a skateboard product photo through cheap models first, four style variations for the cost of testing. Only then did anyone touch a frontier model .
Compositing, then the video chain
The craft · 7:45 PM
Assemble the pieces separately, then let one model unify the light.
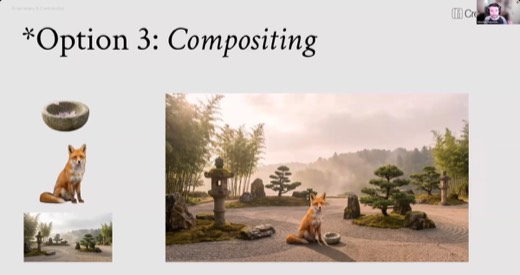
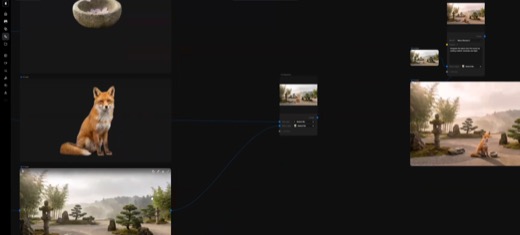
Post-break, the Compositor archetype got its full demo: a fox, a stone bowl, and a zen-garden background generated as three separate layers, backgrounds removed. They were then handed to a single editing model with one instruction, integrate the layers with realistic shadows and light .
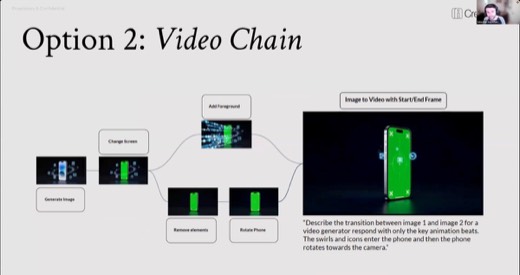
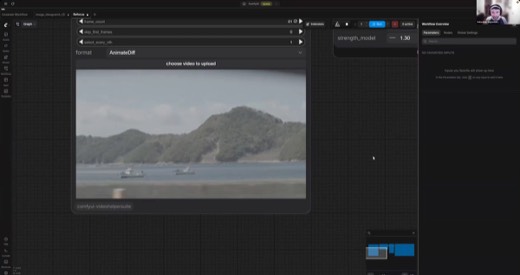
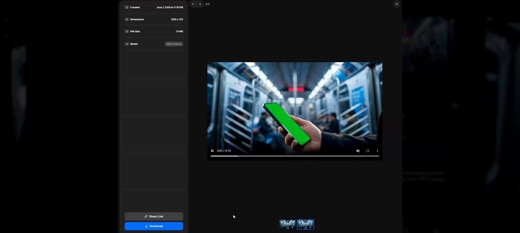
The video chain closed the demo block: a subway phone ad built from a green-screened phone, three Seedance clips stitched end to end . A 2x upscale finished it on the way out .
Methods and prompts
Five methods to take with you
Decide if you need nodes at all
Before building anything, answer the six diagnostic questions yourself. A single prompt still does the job for most tasks; nodes earn their complexity only when the answer is genuinely yes.
Working prompt
Here's the task I'm about to automate: [describe it]. I'll answer these six questions myself first, then you check me.
- Does it need to scale past a handful of outputs?
- Could it be reused or handed off?
- Am I comparing models or settings?
- Is it repetitive?
- Does it need several models orchestrated together?
- Do I need pixel-level control?
My answers: [yours]. Tell me honestly whether I need a node workflow, or a single prompt still does the job.
You will know it worked whenit tells you plainly whether a single prompt still covers the task, based on your own six answers, not a default push toward nodes.
Let the agent build the bones
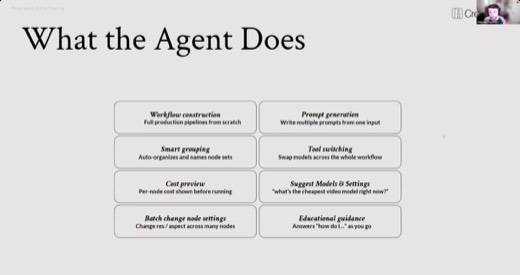
Describe the outcome in plain language and let the agent lay out the nodes; you review and fix the prompts it writes, rather than wiring every connection by hand.
Working prompt
I want a node workflow that [describe the outcome, e.g. "places this product photo into 4 lifestyle environments"]. Build it: the input node, a prompt-writer step, and one generation node per output. Use the cheapest capable model for a first pass. Show me the prompts you wrote before I run it.
You will know it worked whenit shows you the prompts it wrote for each node before running anything, so you can catch a bad one before it generates.
Save a reusable prompt-enhancer preset
Seb's own system-prompt block, saved once and applied to any image node. One saved instruction, reused across every workflow instead of rewritten each time.
Working prompt
Expand on the user's image prompt. Ensure to describe settings, tone, feel, angle, color palette, and any other descriptions when relevant. Respond with only the detailed prompt.
You will know it worked whenevery image node using this preset expands your short prompt into settings, tone, angle, and color palette without you typing them each time.
Build cheap and then swap the model up
Verify the whole chain works on the cheapest model that can do the job, then upgrade only the one node that needs it. A two-click dropdown change, not a full rebuild.
Working prompt
Build this workflow with [name the cheapest capable model, e.g. Z-Image]. Once every node runs clean end to end, tell me which single node would benefit most from a frontier model, and swap only that one.
You will know it worked whenit names exactly one node worth upgrading to a stronger model, not a blanket recommendation to swap the whole workflow.
The 2x2 grid trick
Ask for four variations in one grid instead of four separate generations. Better scene consistency, and four options for one generation's cost.
Working prompt
Generate a 2x2 grid showing four variations of this scene: [describe it]. Keep the composition and framing consistent across all four so I can crop out whichever one wins.
You will know it worked whenthe four variations share the same composition and framing, so you can crop any one out without the scene shifting underneath it.
Where it broke · all night
The line splitter and the honest downsides slide
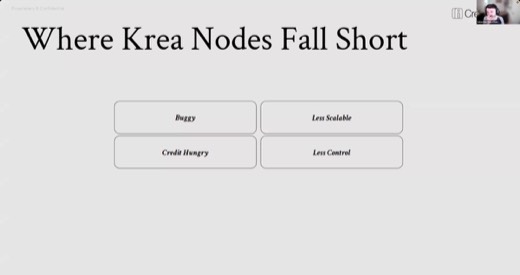
Seb put Krea's weaknesses on screen before anyone hit a bug :
- Buggy.
- Less scalable.
- Credit-hungry.
- Less control than the alternatives.
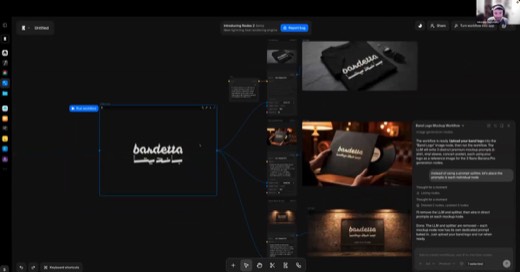
The line splitter, a utility that fans one output into several prompts, was the night's biggest live failure. Two workflows silently produced nothing, and the fix was asking the agent to abandon the splitter and write a prompt into each node by hand .
The shelf
Tools and references
Tools that night
- krea.ai/nodes, plus the built-in Krea agent (the "K" button)
- ComfyUI (comfy.org), local and free; Comfy Cloud, ~$20/month hosted
- Named as peer node platforms: Runway nodes, Weavy, Flora
- Cheap tier: Z-Image, LTX2, Qwen Image Edit, Gemini 2.5 Flash. Frontier tier: Nano Banana Pro, Seedance, Claude Sonnet/Opus
- Topaz, Magnific (upscalers); Photopea (free Photoshop-alike, compositor round-trips)
Named in the room
- Seb Saga: sebsaga.com · hi@sebsaga.com, open to questions and connections
- The skateboard "Benihana" trick, the Lab Bench's test case across models
- This page carries the frames that teach the lesson. The full run of stills from the recording is not included.
Frames from this class
40 captures, in order. Click any one to see it full size.